Blog

What is Digital Printing?
Digital printing is a modern method that transfers digital files directly onto various media. Unlike traditional offset printing, it doesn't require printing plates, making it ideal for short runs and customized prints with quick turnaround times.
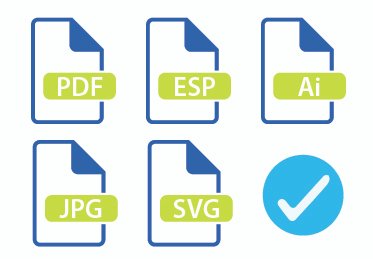
1. Choosing the Right File Format
The initial step in designing signage is selecting an appropriate file format. PDF/X-4 is ideal for large-scale graphics, but we also accept high-quality files from Adobe InDesign (packaged), Illustrator (packaged), Photoshop, as well as JPGs, and TIFFs.
PDF/X-4 Standard:
A specialized PDF format designed specifically for printing and graphic arts exchange. It supports live transparency and layers while ensuring color consistency.
2. Converting Text to Outlines
To prevent text from pixelating when scaled up from a smaller screen, it's essential to embed, package, or convert fonts to outlines. This ensures that the text retains its quality at any size.
Typography Best Practices:
- Keep a copy of the original text-based file before outlining
- Minimum text size: 6pt for small format printing
- For outdoor signage: minimum 1-inch height per 10 feet of viewing distance
- Use sans-serif fonts for better readability in large format

3. Vector vs. Raster Graphics
Graphics can either be vector (e.g., EPS) or raster (e.g., JPEG). Vectors use mathematical formulas to create shapes, while rasters are pixel-based.
Vector Graphics
Mathematical-based graphics that maintain quality at any size.
- Scalability without quality loss
- Smaller file sizes
- Easily editable
- Limited detail in intricate images
Raster Graphics
Pixel-based images with fixed resolution.
- High detail in complex images
- Allows precise editing
- Can become blurry when enlarged
- Larger file sizes
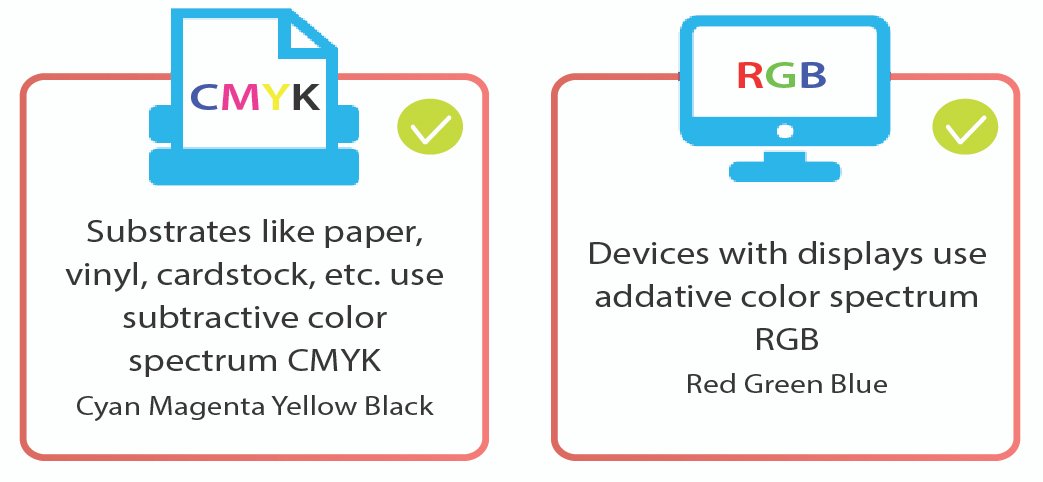
4. Color Models for Printing
Use the CMYK color model for print files. While RGB has a broader color spectrum suitable for screens, it doesn't translate well to print. CMYK provides the best color fidelity in printed materials.
Color Space Terminology:
- CMYK: Cyan, Magenta, Yellow, Key (Black)
- RGB: Red, Green, Blue
- PMS: Pantone Matching System
Color Management Tips:
- Total ink coverage should not exceed 300%
- Rich black formula: C:30 M:30 Y:30 K:100
- Allow for 10-15% color shift in final print
- Consider substrate color when designing
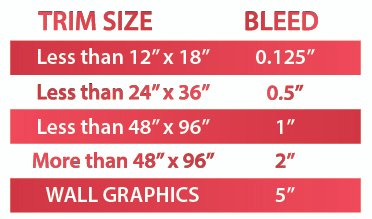
5. Bleed Specifications
Include a bleed in your design if any images or graphics reach the edge of the page. This extension prevents white edges or cut-off elements in the final product. The required bleed size depends on the sign's dimensions.
Key Terms:
- Bleed: Extra image area beyond the trim edge
- Trim Line: Final cut line
- Safe Zone: Area safe from trimming
6. Image Resolution

Resolution Guidelines by Viewing Distance:
| Viewing Distance | Minimum DPI | Optimal DPI |
|---|---|---|
| Less than 2 feet | 300 | 450 |
| 2-4 feet | 200 | 300 |
| 4-8 feet | 100 | 150 |
| 8+ feet | 50 | 100 |
7. Shape-Cut Signs
For shape-cut projects, include a clear cut path on a separate layer marked "cut-line". Use a one-point vector path in a contrasting color to stand out. For decals needing weeding, provide a reference file to indicate which parts to remove and which to keep.
Cut File Requirements:
- Use spot color named "CutContour"
- Set cut lines to 0.25pt stroke weight
- Ensure cut paths are closed vectors
- Include registration marks for multi-layer applications
- Add 0.125" minimum padding around cut lines